SSO Integration
How to configure the Single Sign-On (SSO) feature in Bloom Enterprise for both the main and qmpad login.
Protocols
Protocol: SAML 2.0
SAML 2.0 stands for Security Assertion Markup Language 2.0. It is an open, XML-based standard used to exchange authentication and authorization data between different security domains, enabling Single Sign-On (SSO) across multiple applications and services.
Authentication Flow
Use Bloom Enterprise as a Service Provider (SP) and integrate with external Identity Providers (IdP).
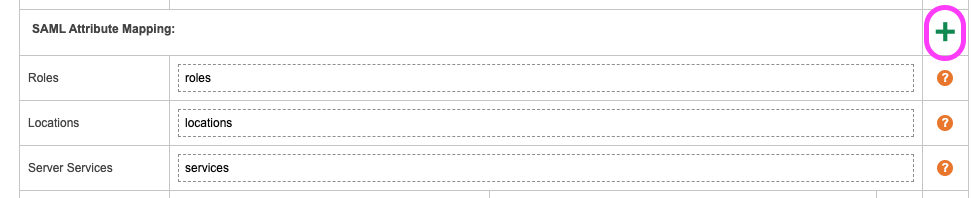
SAML Attribute Mapping
Roles – String defined in your IdP backoffice used to map all roles that will be assigned to each created user.
Locations – String defined in your IdP back ffice used to assign each user to one or more locations.
Server Services – String defined in your IdP backoffice used to assign each user to one or more server services.
User Mapping – Map one of the following Bloom Enterprise user properties to the corresponding attribute in the IdP:
- username
- first_name
- last_name
- display_name
- phone
- avatar
Role – Select the Bloom Enterprise Role from the dropdown and enter the corresponding string defined in the IdP.
Location – Select the Bloom Enterprise Location from the dropdown and enter the corresponding string defined in the IdP.
Service – Select the Bloom Enterprise Service from the dropdown and enter the corresponding string defined in the IdP.
Custom – A key-value option to configure additional security values for the Service Provider (SP).
This is an advanced security configuration. Q-better is not responsible for misuse or misconfiguration.
Security keys
allowRepeatAttributeName: true/false
wantXMLValidation: true/false
Bloom Enterprise Configuration
Navigate to: Settings → Integrations → SSO
Steps
- Log in to Bloom Enterprise Backoffice with an Administrator Role or another role that has the Edit SSO integration permission enabled.
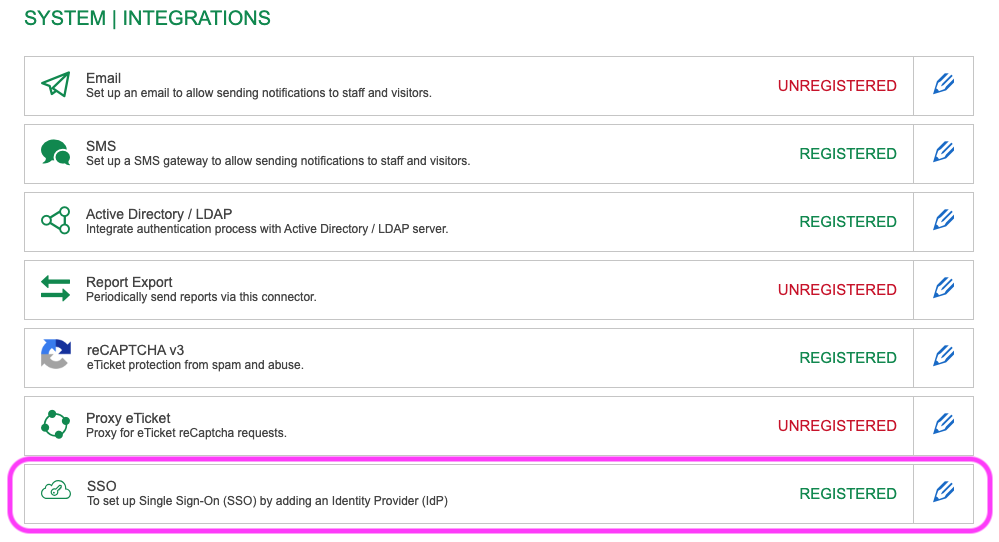
- Go to Settings → Integrations.
- Click the pencil icon in the SSO row.
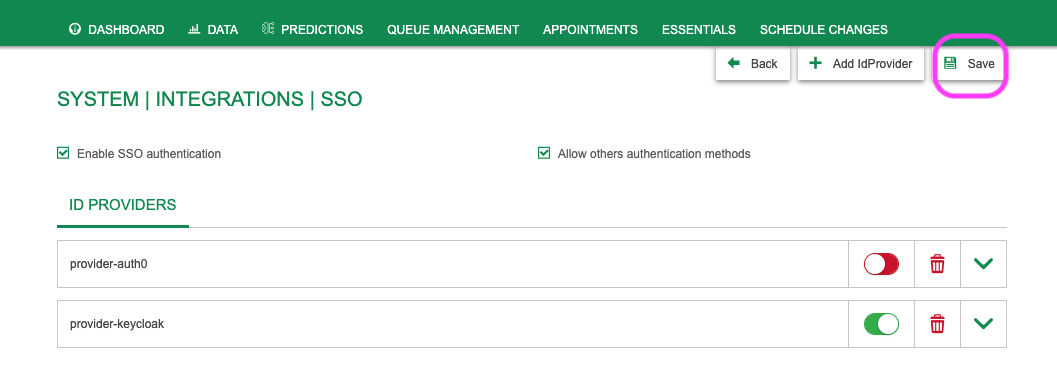
- On the SSO integration page, create a new provider by clicking Add IdProvider.

For more information about each field, hover your cursor over the question mark
- Verify the main settings:
- Enable SSO authentication - enable disable SSO login button on login page
- Allow other authentication methods - when use SSO login button let the users choose other types of authentification like the traditional user/password and Activity Directory.
- Provide a Name and select the Protocol.
- To fill in the fields (Entity ID, SSO Service URL, and x.509 Certificate), we recommend using either the Identity Provider URL configuration or the Identity Provider file configuration available in your IdP’s backoffice.
- If you select the SAML 2.0 protocol:
- You must complete the configuration with SAML Attribute Mapping.
- Use the + button to add the necessary attributes
- Enable only one provider at a time.
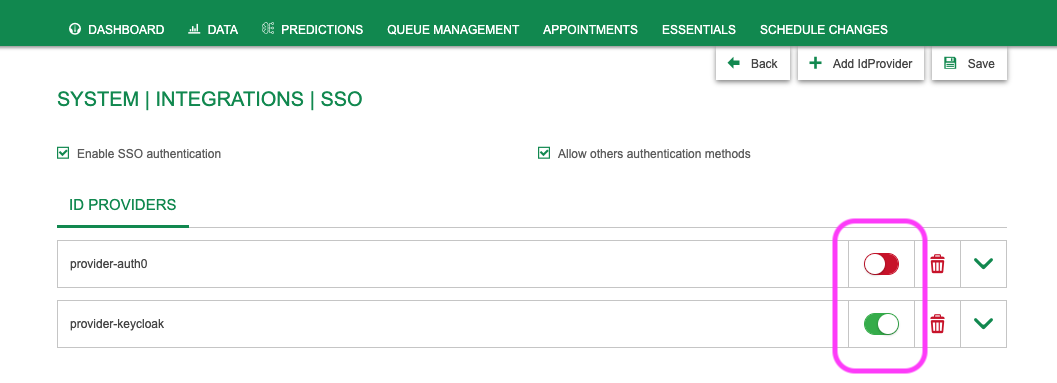
- Save the configuration.
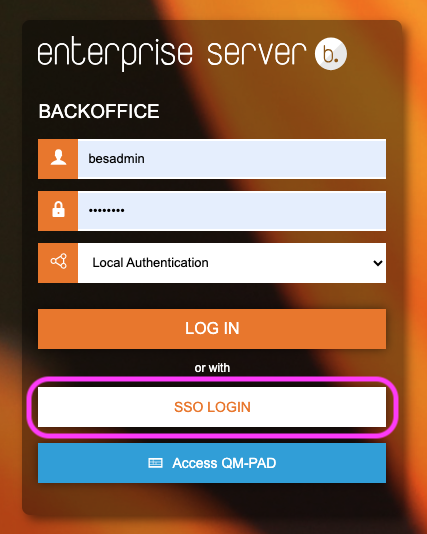
- Log out of the Backoffice and test the SSO login button. You should now see the login page as shown below: