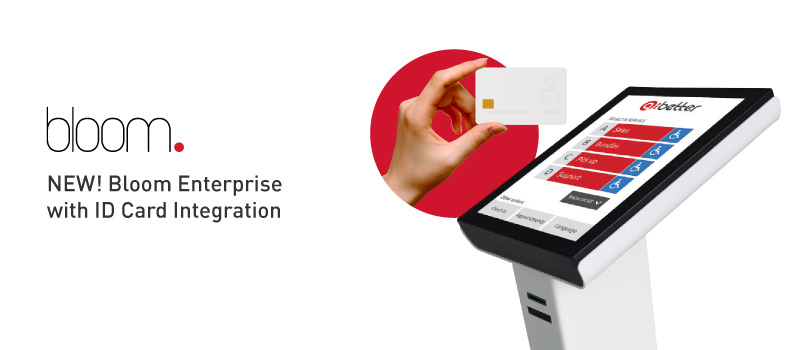
ID card integration
Content
Bloom is an advanced customer flow management system that provides the tools to design, manage and improve the service experience. As a web-based system, it can be configured through any device and platform with a web-browser, and its plug & play setup allows an easy installation.
This file was designed to provide the instructions to configure and use the integration of Bloom system with ID cards.
Technical requirements:
- Bloom Enterprise version 2.19 or above
- Ticket dispenser version 4.8 with integrated chip card reader (ref.: Q-CR-CHIP)
- ID card type: ISO/IEC 7810 (ID-1)
Integration Setup
The integration of Bloom with ID card readers is a solution to rapidly identify the visitor in the system. This feature will automatically link visitor’s data to the ticket by filling a form before printing the ticket.
The setup process consists of three main steps:
- Form - create a form
- Assignment - assign the form to services
- Ticket dispenser - configure the ticket dispenser interface.
Create a form
Forms are the resource you use to collect data and information from visitors. With the ID card reader integration, the form fields are automatically filled by ID cards’ data.
Data you can get from ID cards:
- First name: Jane
- Last name: Doe
- Gender: Female
- Date of birth: 01 01 1997
- ID Card Number: 1111111 2 XY1
- ID Card Citizen Number: 11111112
- SNS number: 123456789
- Height: 1,57
- Nationality: PRT
- SS Number: 987654321
- TIN: 111111111
- Issued date: 30 07 2022
- Expiration date: 30 07 2031
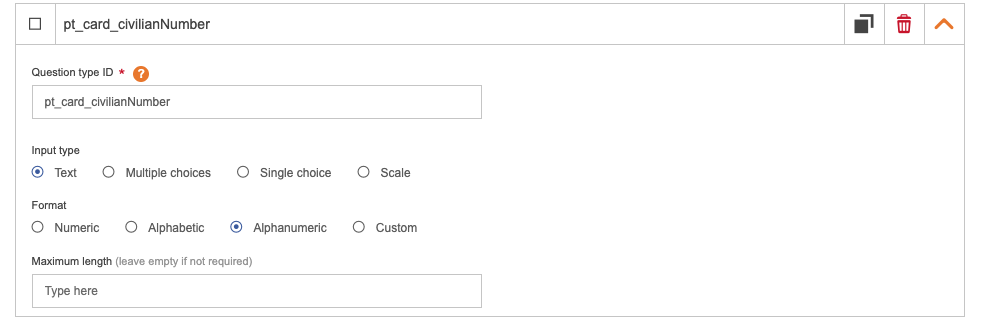
Forms are a collection of pre-built question types, and for this integration you will need to create specific question types that will be mapped with the information read from the card reader. To create new question types:
- In the ’ESSENTIALS’ > ‘ASSETS’ > ‘Forms’ page, click on the ‘MANAGE QUESTIONS’ button.
- Click on the ‘ADD QUESTION TYPE’ button. A new item will be listed.
- In the question identifier insert one of the question codes below:
- First name: pt_card_name
- Last name: pt_card_surname
- Gender: pt_card_gender
- Date of birth: pt_card_birth
- ID Card Number: pt_card_docNumber
- ID Card Citizen Number: pt_card_civilianNumber
- SNS number: pt_card_healthNumber
- Height: pt_card_height
- Nationality: pt_card_nationality
- SS Number: pt_card_socialSecurityNumber
- TIN: pt_card_taxNumber
- Issued date: pt_card_validityBegin
- Expiration date: pt_card_validityEnd
- Select the Text answer type in the input type field.
- Select the Alphanumeric format.
- Save your changes by clicking on the ‘SAVE’ button on the top right of the page.
- Repeat this process for all the data types you need to collect: first name, last name and/or national number.
After creating the question types, you must build the form that will be filled by the card’s data. To create a new form:
- In the ’ESSENTIALS’ > ‘ASSETS’ > ‘Forms’ page, click on the ‘Build form’ button. The ‘BUILD FORM’ page will open.
- In the ‘IDENTIFICATION’ section, type the form name in the ‘Name’ field.
- Click on the ‘ADD QUESTIONS’ button in the section where you want to add the question: before service. A pop-up will open.
- Select the question types you wish to add (the question types you created for the integration will be in the list).
- Click on the ‘CONFIRM’ button. The pop-up will close.
- Type the question (what your customer will see) in the ‘Question’ field.
- Select the Card reader and other devices where this question will be visible in the ‘Apply to’ field
- Set the staff permissions: choose if you wish to ‘Allow staff members to visualise customers’ previous answers and/or ‘Allow staff members to edit customer’s previous answers’.
- Define the questions order with the �‘DRAG’ button
- Save your changes by clicking on the ‘SAVE’ button on the top right of the page.
- Repeat this process for all the data types you need to collect: first name, last name and/or national number.
A card reader form must be created on the before service field.
To ensure the card reader is correctly configured, start by selecting the card reader option. If you've also chosen the ‘Required field’ setting, the system will prevent ticket generation unless a card is scanned. To provide flexibility, you can add more options in the 'Apply to' field.
If you need to collect mandatory information without using a card reader, you can add more questions. For example, create two questions with the same Question Type ID, assign one to the card reader and the other to the Ticket Kiosk. Make the question required on the Ticket Kiosk to ensure information is captured.
Additionally, select QM-PAD in the 'Apply to' field to view ticket details.
If a card reader is configured, its form will be set as the default. All other forms will follow the order you’ve defined.

Assign the form to services
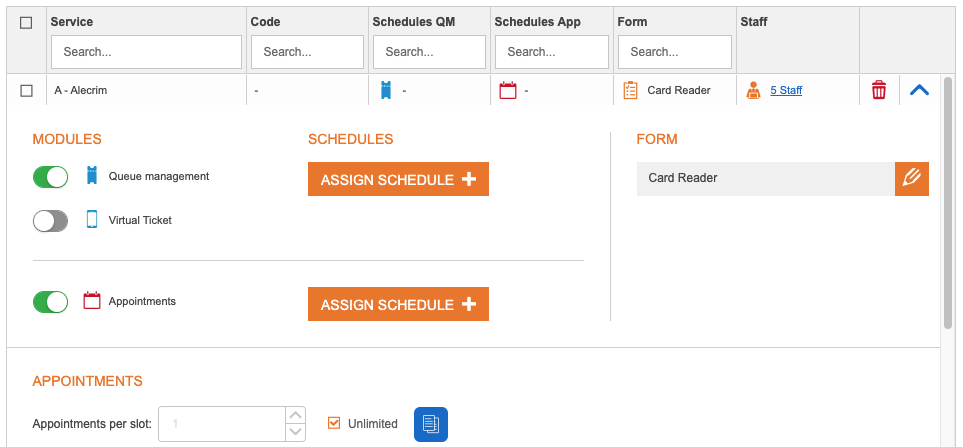
It is possible to have the ID card reading function associated to one or multiple services. The assignment of forms to services is configured in the ESSENTIALS > ‘Assignments’ page.
- In the ‘ESSENTIALS’ > ‘Assignments’ page, click on the edit icon of the respective location.
- Expand the service information (of the selected location) by clicking on the down arrow button.
- Go to the form area of each service, edit and select the forms you wish to assign. Click on ‘ASSIGN FORM’.
- If you wish to assign the same form to several services of the same location, select those and click on ‘BULK ACTIONS’.
- Click on ‘Assign forms to the services’.
- Select the forms and click on ‘ASSIGN FORM’.
- Save your changes by clicking on the ‘SAVE’ button on the top right of the page.
Configure the ticket dispenser’s interface
To finish the setup of the ID card reader integration, the ticket dispenser’s interface must be adjusted to better guide the visitor when using this feature.
- In the ‘QUEUE MANAGEMENT’ > ‘Masters/Local’ click on the location of the registered device.
- Go to ‘MANAGEMENT’ > ‘Devices’ and click on the ‘EDIT’ button of the ticket dispenser.
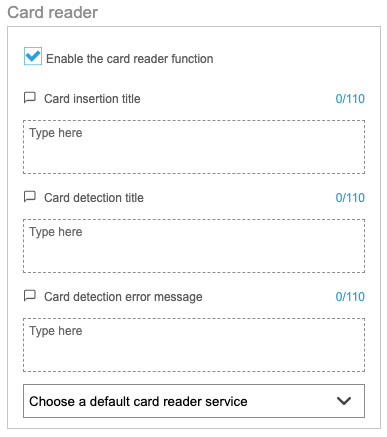
- Enable the card reader function in the ‘Card reader’ section.
- Insert the card insertion default title (this message will ask the visitor to insert the card).
- Insert the card detection default title (this message will warn the visitor the card was detected).
- Insert the card detection error default title (this message will warn the visitor when the system could not read the card).
- Save your changes by clicking on the ‘SAVE’ button on the top right of the page
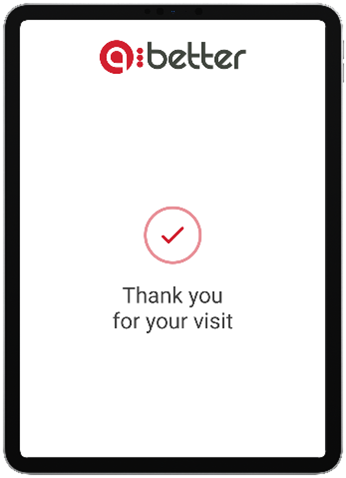
Enable a ‘Thank you message’ and add a warning that all went well, so the visitor knows when to remove the card.
All card reader associated messages are available for translation in the ‘Translations’ page.
Visitor Experience
With the setup concluded in the Backoffice, it is important to understand the right usage of the ID card reader by the visitor.
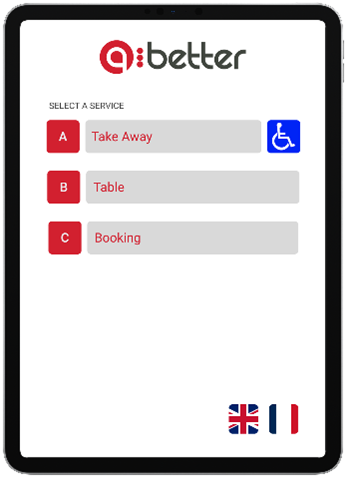
- Select a service - Visitor selects a service with an assigned form.
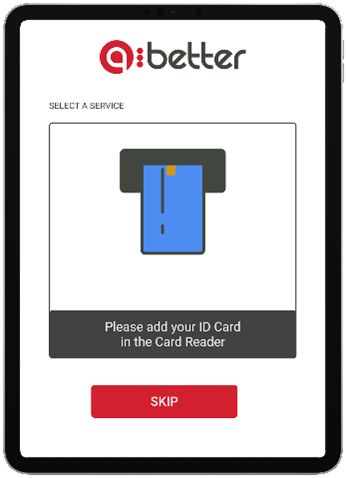
- Insert the card - The insert card message is displayed. Visitor can skip this step and insert the data manually.
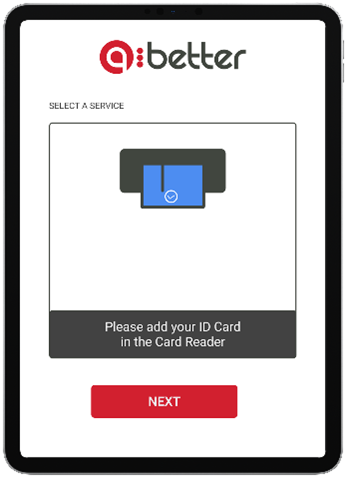
- Card detected - The system confirms the card detection. Visitor must click ‘next’ to proceed.
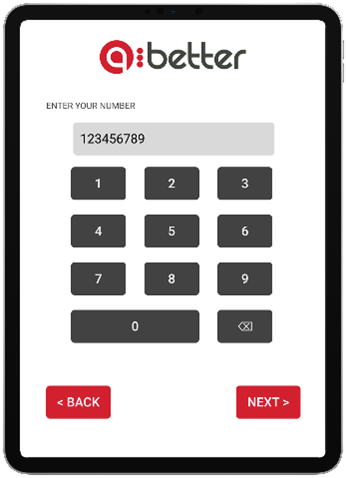
- Data configuration - The data collected from the card is displayed. The visitor can confirm or correct the information.
- Ticket Printing - The ticket is printed and a thank you message is displayed (optional).
Data Visualization
Users can view the data collected by the ID card reader in three moments: before, during and after the service.
View a visitor’s data before the service
To have access to the visitor’s data before calling the ticket the user must use Bloom Concierge application. When a visitor generates a new ticket, the ticket will be listed, and the user can check the available visitor’s data before calling or transferring the ticket. In order for this to work, the Concierge must be selected in the ‘Apply to’ area of the form.
View a visitor’s data during the service
To have access to the visitor’s data during the service the user must use QM-PAD or Bloom Concierge applications. When calling a ticket with a form associated, the visitor’s data is displayed in the QM-PAD or Bloom Concierge interface. In order for this to work, the Concierge and QM-PAD must be selected in the ‘Apply to’ area of the form.

View a visitor’s data after the service
Managers can access the database collected by the ID card reader in the ‘DATA’ > ‘Lists’ page. Select the tab ‘Forms’, all collected data will be associated with the ticket. All data is available for download in .CSV format.